
HACS Integration for Home Assistant
Put your Home Assistant on your iPhone: solar power in a Home Screen widget, the washing machine’s time left as a Live Activity on the Lock Screen, a button for the porch light. With the Aivi integration you set this up in Home Assistant by choosing from your own sensors, lights and switches, with a preview that shows the result as you go. There is no YAML to write and no automation to maintain.
The integration is free and open source, and you install it in a few minutes through HACS, the community store for Home Assistant. It needs no Home Assistant Cloud subscription, no remote access and no open port: Home Assistant only makes outgoing connections to Aivi.
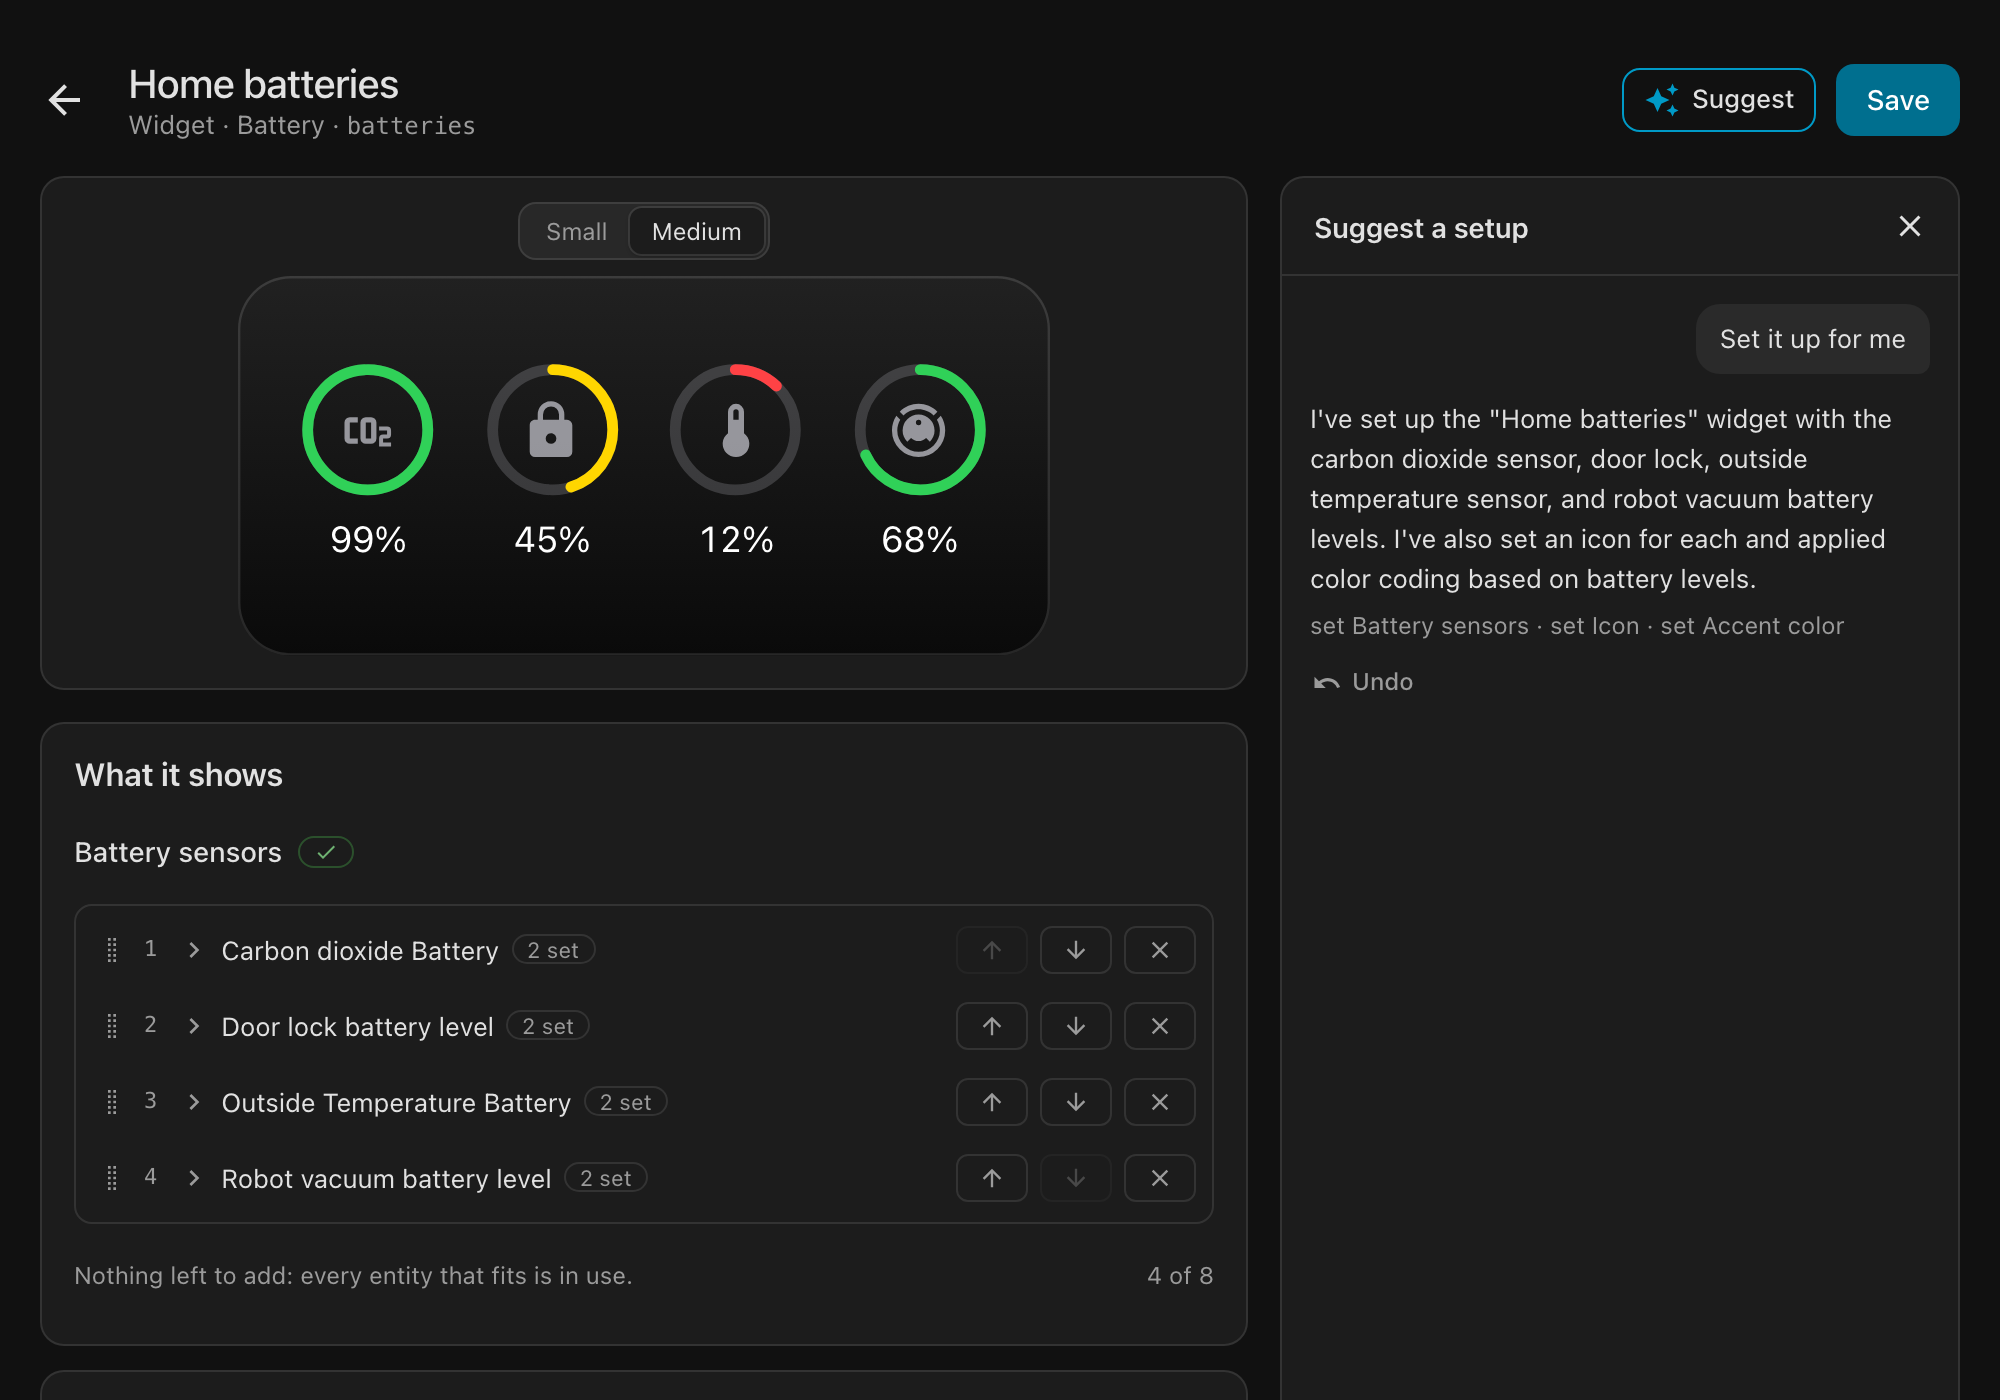
What you set up in Home Assistant is what appears on your devices, and it stays up to date by itself:
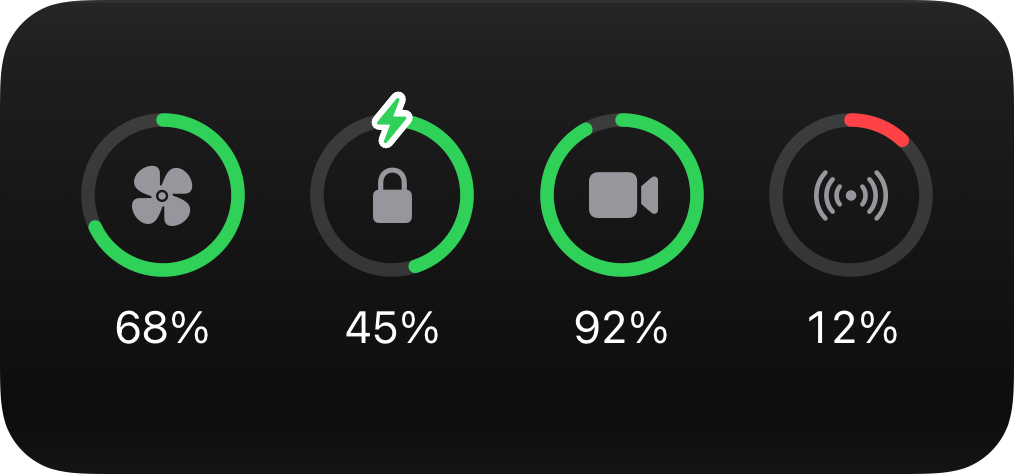
Three names come up on this page:
- The Aivi app is the app on your iPhone. You create widgets and Live Activities there and choose their layout.
- The Aivi integration is what you install in Home Assistant.
- The Aivi panel is the integration’s page in Home Assistant, opened from the sidebar. It is where you choose what each widget shows.
Home Assistant calls each thing it knows about an entity: a sensor reading, a light, a door. On this page, the entities you choose for a widget feed it: the widget shows their values.
You can do everything here from a computer or from your phone.
Wondering what Aivi adds over the Companion app? The Home Assistant Live Activities and Home Assistant widgets guides compare the two, and getaivi.app has an overview of the integration.
What you need
Section titled “What you need”- An iPhone on iOS 26 or later for widgets, or iOS 18.4 or later for Live Activities.
- The Aivi app (App Store) with a subscription. Aivi costs $2.99 a month or $23.99 a year, and the first week is free. The integration itself is free.
- Your API token, a long code that lets Home Assistant update your widgets. In the Aivi app, open the Settings tab, sign in, and copy it from there. Treat it like a password. Use the token of the account that owns the widgets: widgets someone shared with you do not appear.
- Home Assistant 2025.4 or later (see Settings → About).
- HACS, the community store for Home Assistant integrations and dashboard cards, which many Home Assistant users already have. If you see HACS in the Home Assistant sidebar, you have it. If not, hacs.xyz walks you through adding it. Home Assistant 2026.11, announced for November 2026, builds it in as Marketplace under Settings.
You do not need Home Assistant Cloud or any other way of reaching your Home Assistant from outside your home.
Install
Section titled “Install”All of this happens in Home Assistant.
-
Add the integration to HACS. This button opens it in your own Home Assistant:

Without the button: in HACS, open the menu at the top right, choose Custom repositories, and add
https://github.com/getaivi/home-assistantwith the type Integration. -
Download Aivi in HACS, then restart Home Assistant (Settings → System, the power button at the top right).
-
Add the integration and paste your API token. Use this button, or go to Settings → Devices & services → Add integration and choose Aivi.

An Aivi entry now appears in the sidebar. That is the Aivi panel.
Installing without HACS
Download aivi.zip from the integration’s
latest release and
unpack it into custom_components/aivi/ inside your Home Assistant
configuration folder. Restart Home Assistant and continue from step 3.
Set up a widget
Section titled “Set up a widget”-
In the Aivi app: create a widget in the Widgets tab, choose its template (its layout), and add it to your Home Screen. Already have the widget? Skip this step.
-
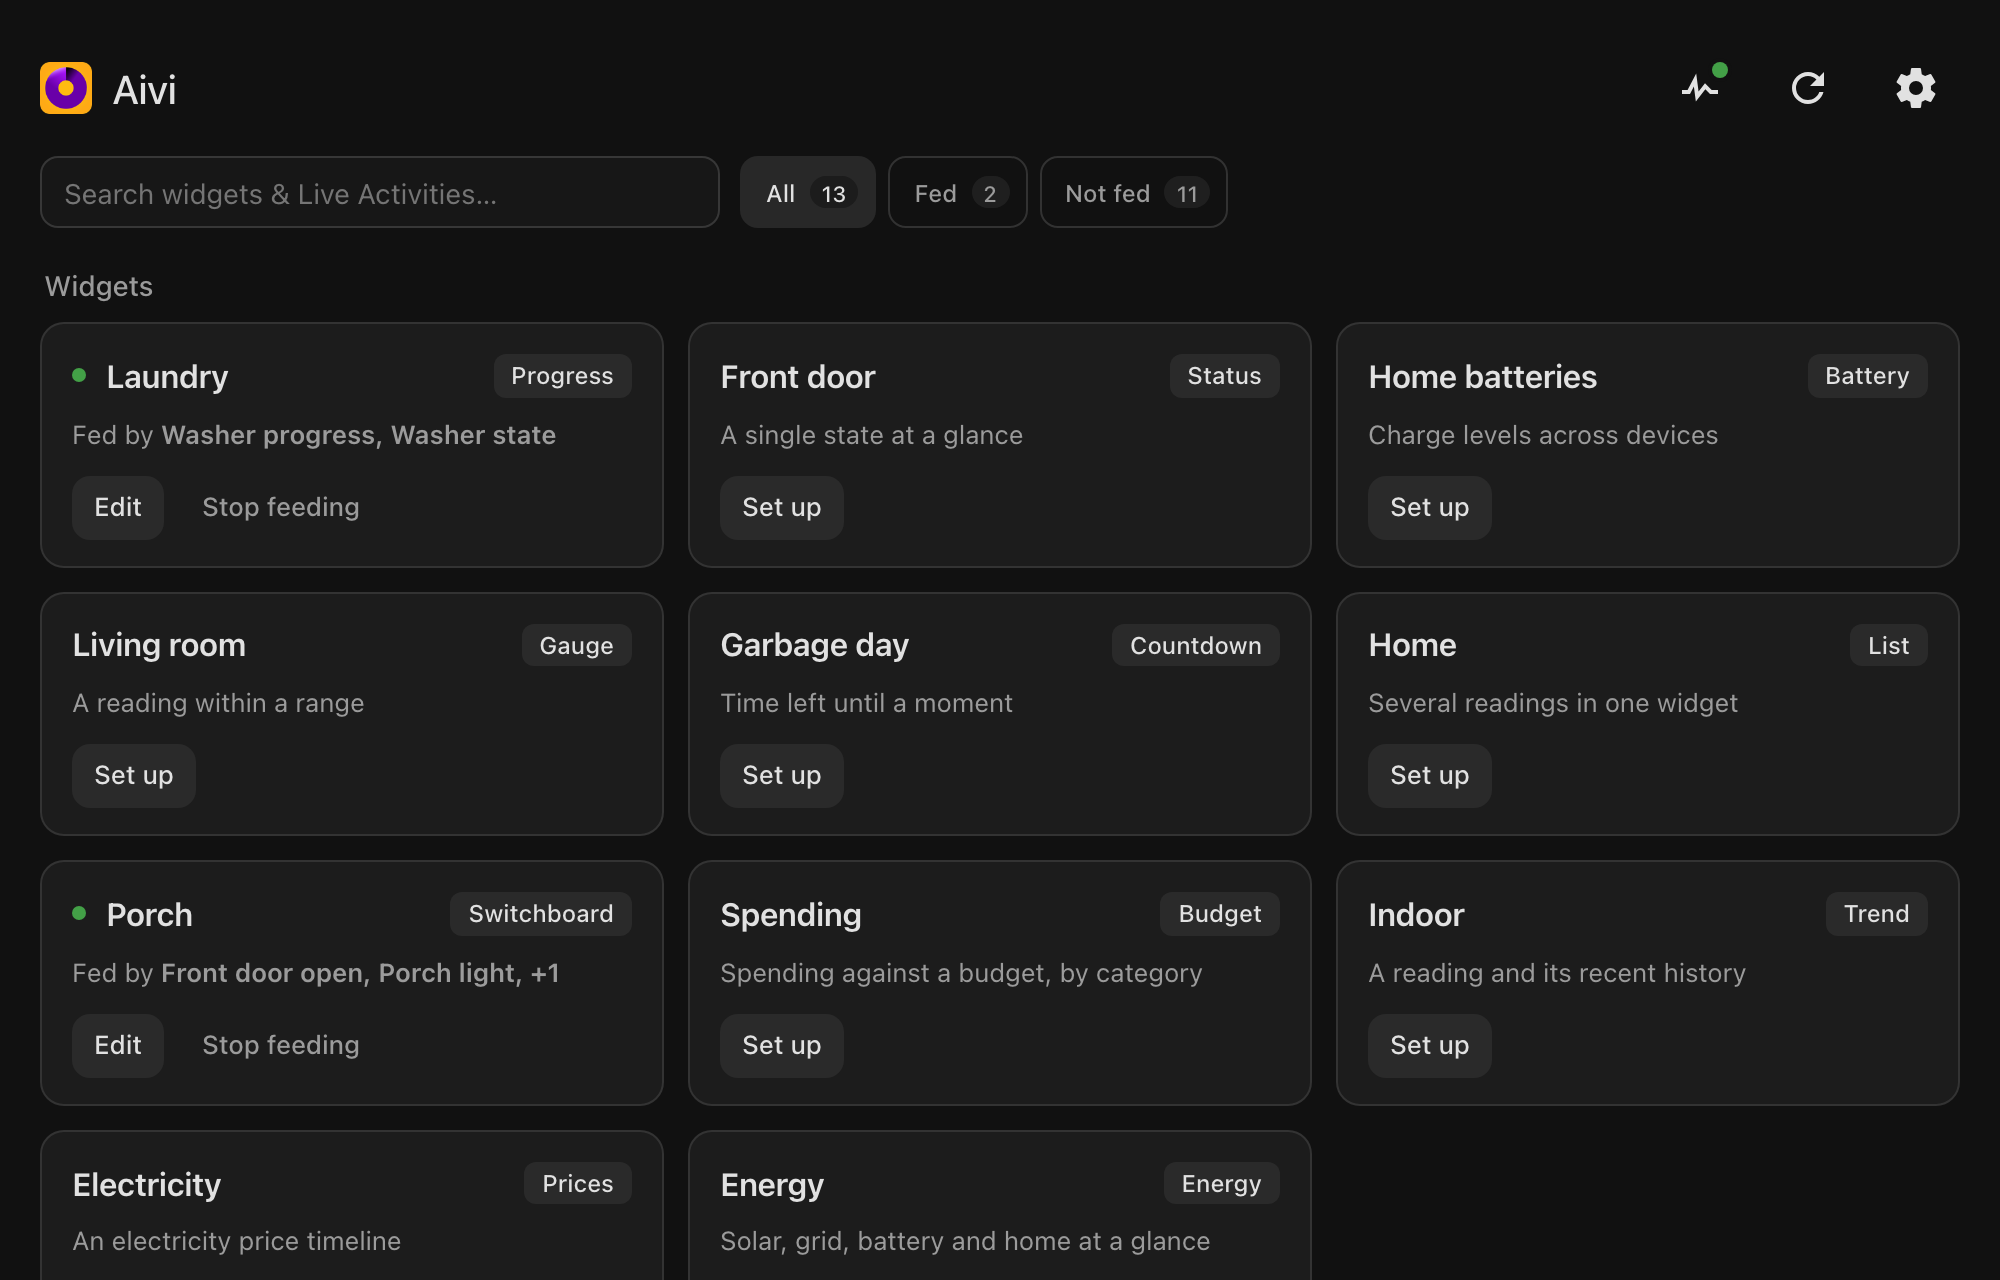
In Home Assistant: open Aivi in the sidebar. The panel lists every widget and Live Activity on your account. Select the one you want.
-
Fill in the form by choosing an entity for each field. The preview shows the widget with your entities’ current values as you go, at the Small or the Medium size. Colors, icons and formatting are optional. A browser cannot draw Apple’s symbols, so the preview shows a similar icon; your devices draw Apple’s own.
-
Select Save. The widget on your devices now follows those entities. iOS decides when a widget redraws, so expect a change within minutes (see Limitations).
A field does not have to follow an entity. It can also show one of an entity’s attributes, a fixed value, or a template: pick the kind next to the field.
Every widget template has a form: Status, Progress, Gauge, Countdown, List, Battery, Budget, Trend, Prices, Energy, Showcase, Switchboard and Remote.
A widget you created while the panel was open appears after you select Refresh at the top of the panel.
Set up a Live Activity
Section titled “Set up a Live Activity”A Live Activity is set up the same way, with one addition: the Active
entity. The activity appears on your devices when that entity turns on and
ends when it turns off. You do not start anything on the phone. For a
washing machine, choose the entity that says the machine is running. The
entity counts as on for states such as on, home, open, playing,
active and charging; use a template for anything else.
Create the activity in the Aivi app first, in the Activities tab, with the Progress, Monitor or Remote Live Activity template.
Let Suggest fill in the form
Section titled “Let Suggest fill in the form”Optional. If your Home Assistant has an AI model set up for AI Task, through the OpenAI, Google Gemini, Anthropic or Ollama integration for example, the Suggest button in the panel can fill in the form for you. Describe what you want, such as “washer progress with the time left”, or pick one of its starters, such as Set it up for me. You see the result in the preview, can keep talking to adjust it (“fill the remaining slots”, “use the garage door instead”), and can undo any step. When your home has nothing that fits, Suggest says so and offers what it does have. Nothing is saved until you select Save.
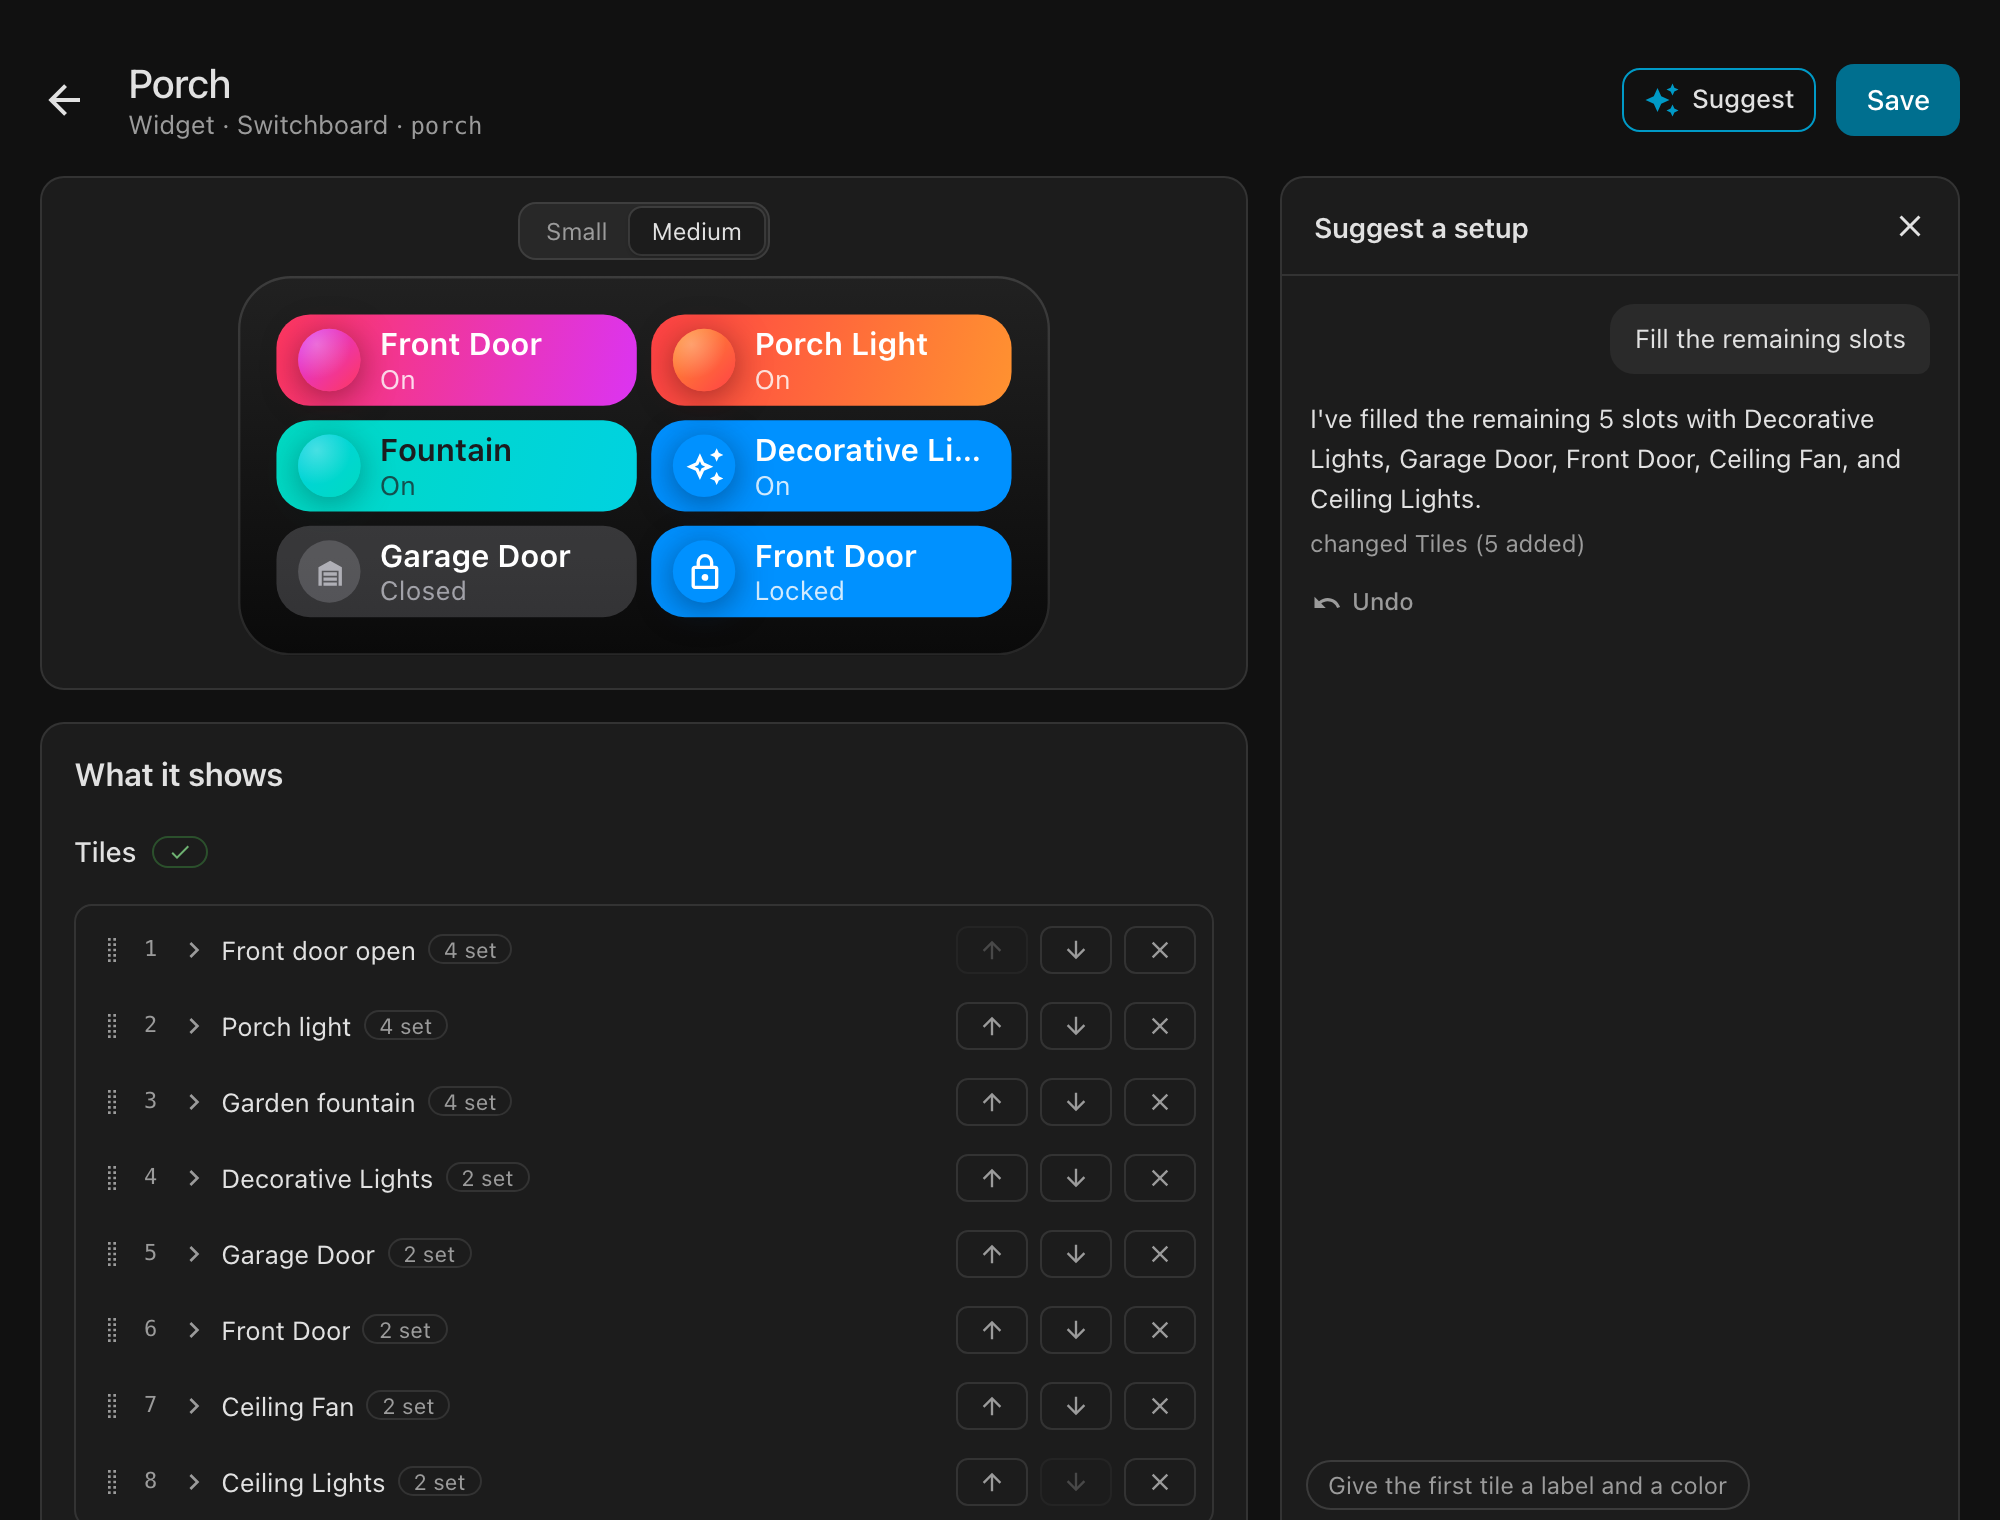
Suggest uses the model you set up in Home Assistant. Your request and the names of your entities go to that model, not to Aivi.
Which model to use
Section titled “Which model to use”Suggest works with any model you have set up for AI Task. These are the ones we tested it with, and how often they got a request right in our tests:
| Model | Got it right |
|---|---|
| Claude Sonnet 5.5 | 96% |
| Claude Haiku 4.5 | 87% |
| Gemini 2.5 Flash | 87% |
| Qwen3 235B | 87% |
| Kimi K2 | 85% |
| GLM 4.6 | 85% |
| DeepSeek V3.2 | 83% |
| Llama 3.3 70B | 81% |
| gpt-oss-120b | 75% |
| Mistral Small 3.2 24B | 69% |
| gpt-oss-20b | 65% |
| Qwen3 30B | 58% |
| Gemma 3 27B | 46% |
If you are choosing one for Suggest:
- Best results: Claude Sonnet 5.5.
- Quick and inexpensive: Gemini 2.5 Flash or Claude Haiku 4.5.
- An open model: Qwen3 235B, Kimi K2 or GLM 4.6.
- Running it at home: smaller models handle short requests such as “make it red”, but often miss when setting up a widget from scratch. Mistral Small 3.2 did best among them.
Buttons and switches on your Home Screen
Section titled “Buttons and switches on your Home Screen”With the Switchboard template, each tile on the widget is one of your entities: a light, a switch, a lock, a garage door, a thermostat, a scene or a script. Choose them in the panel and they become tiles. Pressing a tile on your Home Screen toggles the entity or runs the scene in Home Assistant, and the tile then shows the new state. The buttons of a Remote widget or Remote Live Activity work the same way.
The Events button at the top of the panel (the pulse-line icon) shows whether presses can reach Home Assistant, and lists the latest ones with what Home Assistant did with each.
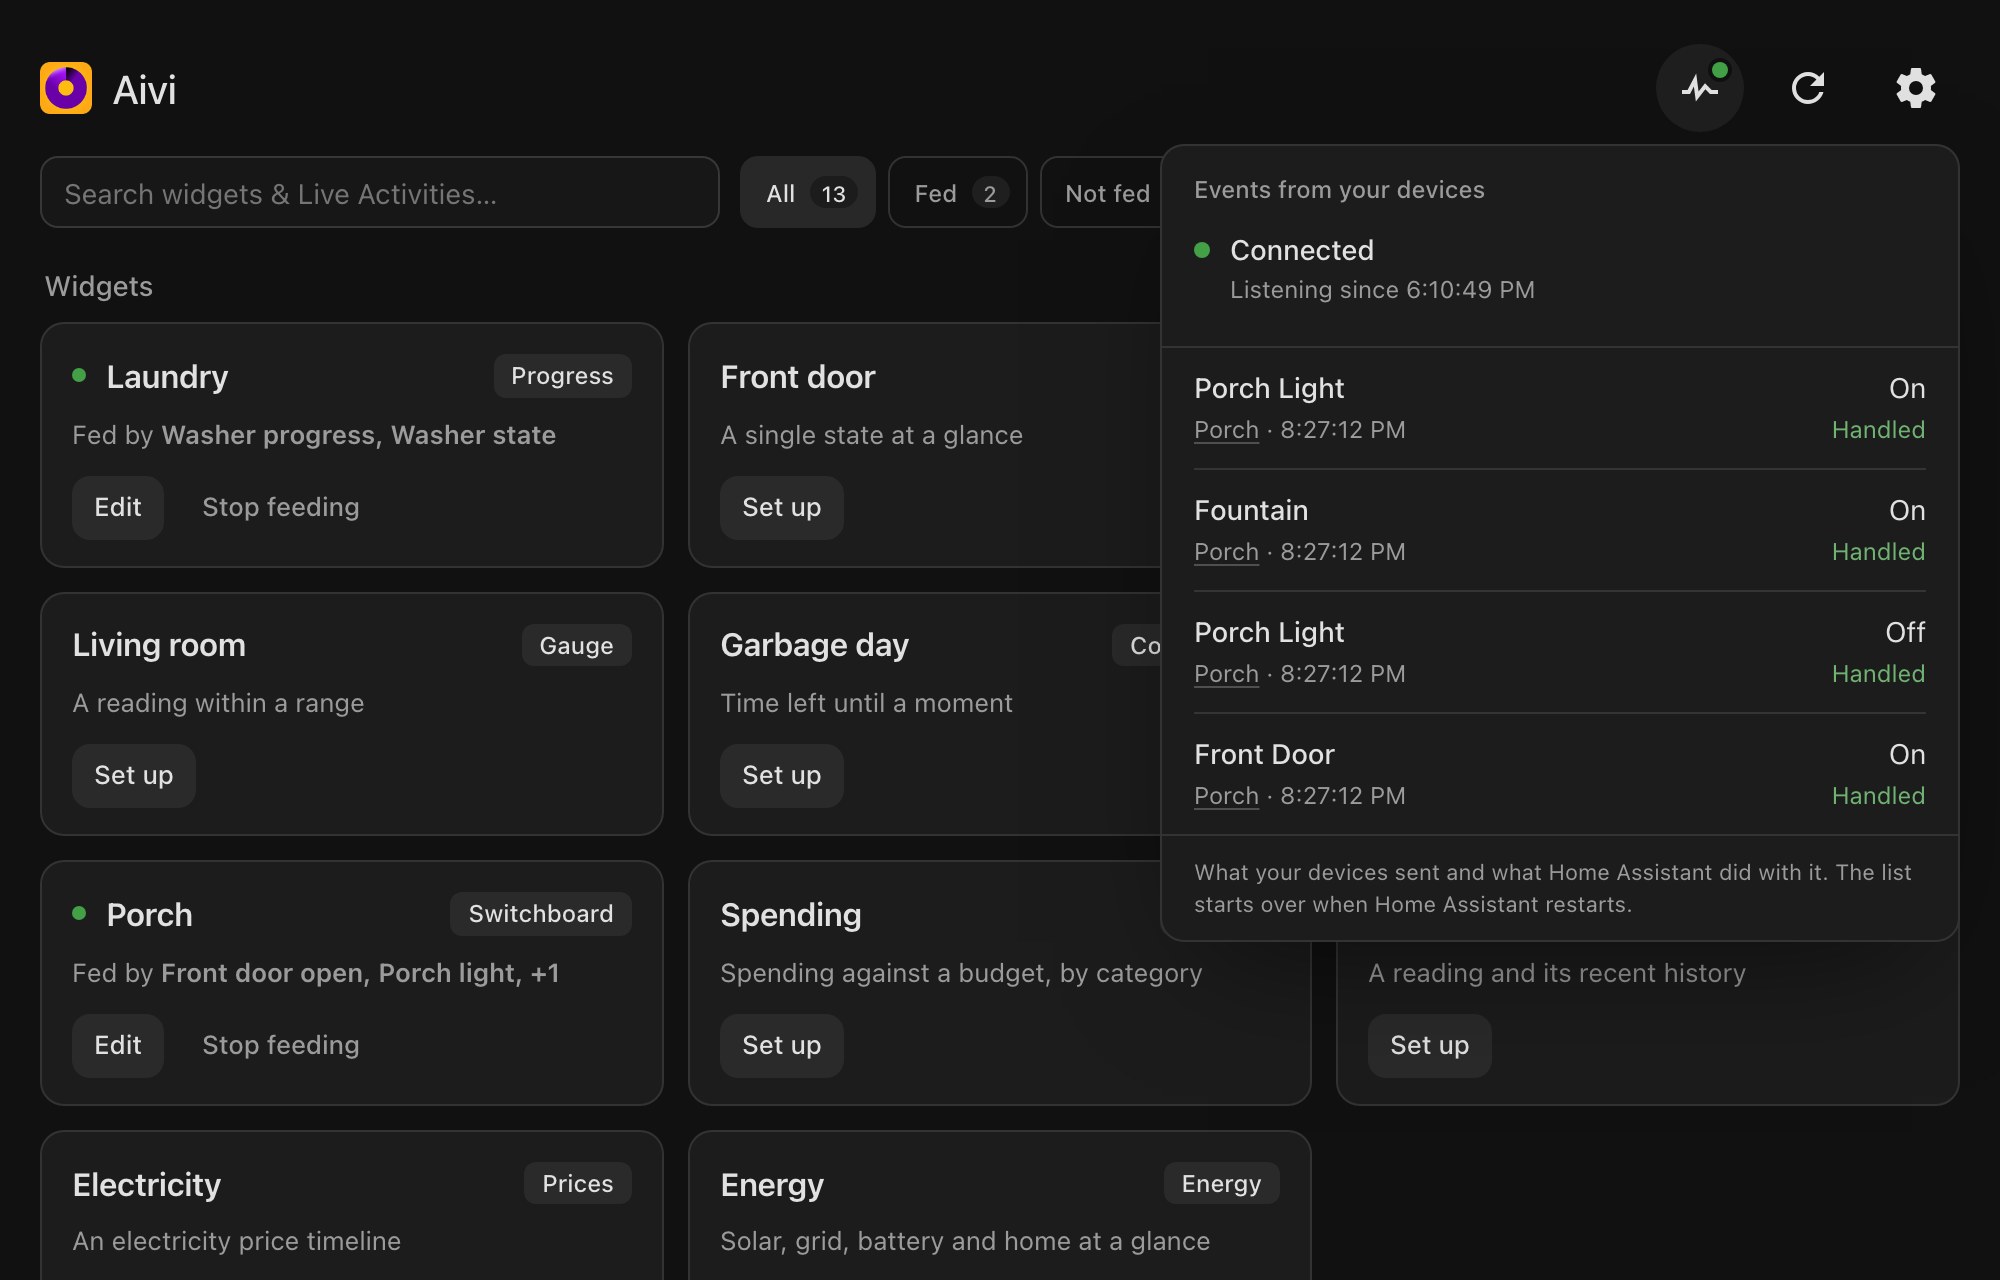
Each widget or Live Activity with buttons gets a Presses event entity,
and presses appear in the logbook. To act on a press in your own
automations, use that entity as a trigger, or listen for the aivi_action
event. Its data says whether a widget or a Live Activity was pressed
(subject_kind, widget or activity), names it (slug), names the
button (action) and its kind (action_kind) and, for a switch, the state
asked for (value):
triggers: - trigger: event event_type: aivi_action event_data: slug: porchAlready using blueprints?
Section titled “Already using blueprints?”Your existing widgets and Live Activities keep working, and nothing changes until you save something in the panel. The panel shows them with Set up because it only knows what it feeds itself.
Feed each widget from one place. If an automation and the panel both feed the same widget, they overwrite each other. The panel checks for this: a widget that an automation also feeds gets a warning mark, and from there you can turn the automation off. The automation is turned off, not deleted, so you can go back. The same API token works for both.
The check reads your automations for the update_widget and
update_live_activity commands. It does not see scripts, Node-RED, or an
automation that works out the widget’s ID while it runs, so turn those off
yourself under Settings → Automations & scenes.
| Compared | Integration | Blueprints |
|---|---|---|
| Setup | A form with a live preview | An automation per widget, plus rest_command in YAML |
| Buttons and switches | Work without further setup, and without Home Assistant Cloud | With a webhook automation you write yourself, reachable from the internet |
| Problems | Shown as repairs in Home Assistant | In the automation’s traces |
| Updates | Offered in Home Assistant through HACS, like any other update | Import a newer blueprint version |
| Best when | You want it working in minutes | You want automations you can read and edit |
Changing or stopping
Section titled “Changing or stopping”- Edit on a card in the panel changes what feeds it.
- Stop feeding disconnects it from Home Assistant. A widget keeps the last content it was sent; a Live Activity ends on your devices.
- If you delete a widget in the Aivi app that Home Assistant was feeding, its card in the panel says so, and Home Assistant shows a notice under Settings → System → Repairs. Select Stop feeding on the card to clear it. Your other widgets are not affected.
If something is not working
Section titled “If something is not working”Problems appear under Settings → System → Repairs in Home Assistant, each with what to do about it. The common ones:
| What you see | What to do |
|---|---|
| The widget does not change on your devices | Check that the entity changed in Home Assistant. iOS also limits how often widgets redraw: see Limitations. |
| ”Aivi subscription isn’t active” | Renew in the Aivi app. Everything resumes by itself; nothing you set up is lost. |
| ”Token rejected” | Copy the token again from the Aivi app and paste it when Home Assistant asks. |
| A widget is missing from the panel | Select Refresh. Widgets shared with you from another account are not listed. |
| Pressing a tile does nothing | Open Events in the panel: it says whether Home Assistant is connected and what happened to the press. |
Keep an eye on it
Section titled “Keep an eye on it”Each Aivi account appears as a device in Home Assistant with two sensors to watch, and each widget and Live Activity as a device of its own:
| Entity | What it tells you |
|---|---|
| Subscription (per account) | Active, Expired or No subscription. While active it says when the paid period ends and whether it renews. |
| Problem (per account) | On when a widget or Live Activity stopped updating, the subscription is not active, or the token was rejected. Its attributes list what is affected. |
| Update status (per widget or Live Activity) | OK, or why the last update failed. |
| Last sent (per widget or Live Activity) | When Home Assistant last sent it new content. |
Two automations worth having:
# A reminder before the subscription ends without renewingtriggers: - trigger: template value_template: >- {% set ends = state_attr('sensor.aivi_subscription', 'expires_at') %} {{ ends is not none and not state_attr('sensor.aivi_subscription', 'renews') and as_datetime(ends) - now() < timedelta(days=3) }}actions: - action: notify.notify data: message: Your Aivi subscription ends in less than three days.# A notification when something stops updatingtriggers: - trigger: state entity_id: binary_sensor.aivi_problem to: "on" for: "00:05:00"actions: - action: notify.notify data: message: >- Aivi: {{ state_attr('binary_sensor.aivi_problem', 'problems') | map(attribute='name') | join(', ') or 'see Repairs' }}The entity IDs follow your account’s name; check them under Settings → Devices & services → Aivi.
Good to know
Section titled “Good to know”Colors. Colors are picked from Aivi’s set of 18, the ones the app draws.
A color can follow an entity or a template, as long as the result is one of
those names (red, green, …). Anything else, such as a light’s own RGB
color, falls back to the color you picked. Switchboard tiles are the
exception: a tile’s color and gradient can be any color.
More than one Aivi account. Add the integration again with the other account’s token. The panel then shows each account’s widgets under its name.
What it adds to Home Assistant. The Aivi panel, visible to administrators, and a few diagnostic entities: for each widget you set up, its push status; for each widget or Live Activity with buttons, its presses; for each account, whether presses can get through. It creates no automations and no helpers.
What leaves Home Assistant. Only the content of the widgets and Live Activities you set up: the values, labels, icons and colors you chose, and for buttons an ID for each one. It goes to Aivi’s servers, which deliver it to your devices. To receive presses, Home Assistant keeps an outgoing connection to Aivi open; no port, webhook or Home Assistant Cloud is involved.
Removing the integration
Section titled “Removing the integration”Under Settings → Devices & services, open Aivi and delete it from the menu next to its entry. Home Assistant stops sending updates and removes the panel. Your widgets stay in the Aivi app with their last content; Live Activities that were running end. If you installed through HACS, remove the integration there as well.
Aivi: Live Activities and widgets over an API · Pricing · App Store